
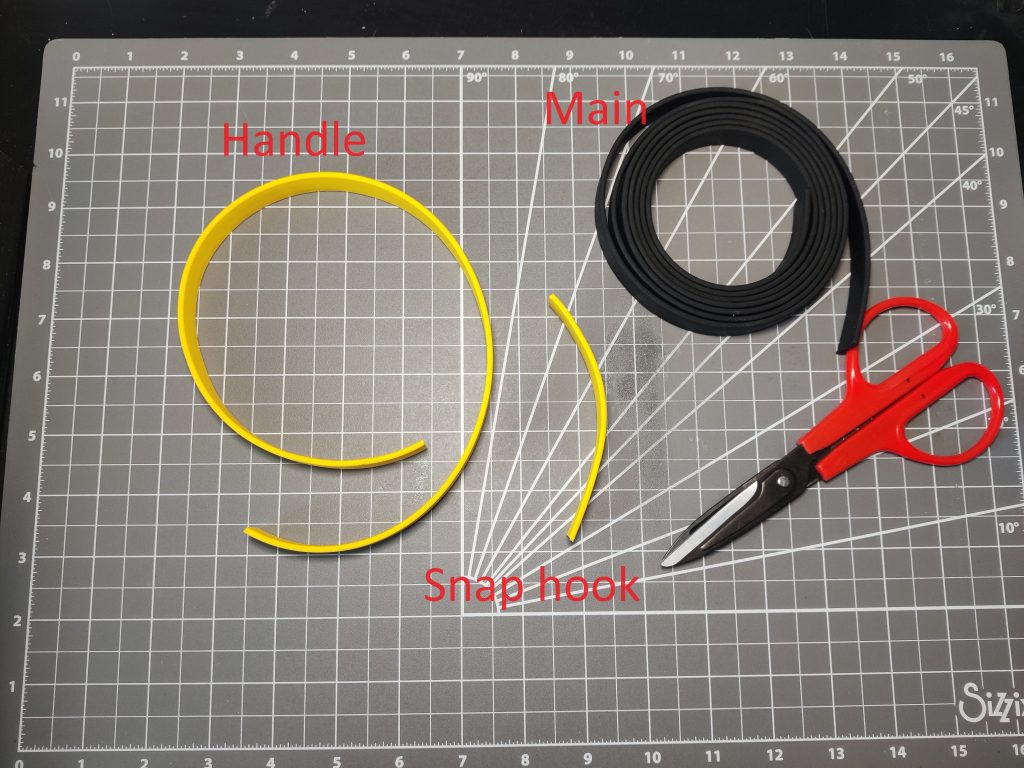
Step 1 - Prepare the webbing
You will need 3 pieces of webbing to make this kind of leash, one piece will be the main leash webbing, one part will be the handle and the last piece of webbing will be used to hold the snap hook.
You can either use the same color for all the pieces, or perhaps you’ll like different colors for the handle and snap hook part? This all comes down to preference.
The length of the leash and handle is the same story, but here are the lengths used in this tutorial:
- Main leash piece 190 cm / ~6.2 feet
- Handle piece 50 cm / 20 inches
- Hook part 10 cm / 4 inches
Cut your webbing with your preferred tool, we’re using Leather scissors (Amazon). You can also use an Exacto knife (Amazon) with an Cutting mat (Amazon) or similar under.
We cut “pointy ends” on the handle and the snap hook pieces, which is very easy with our Leash templates
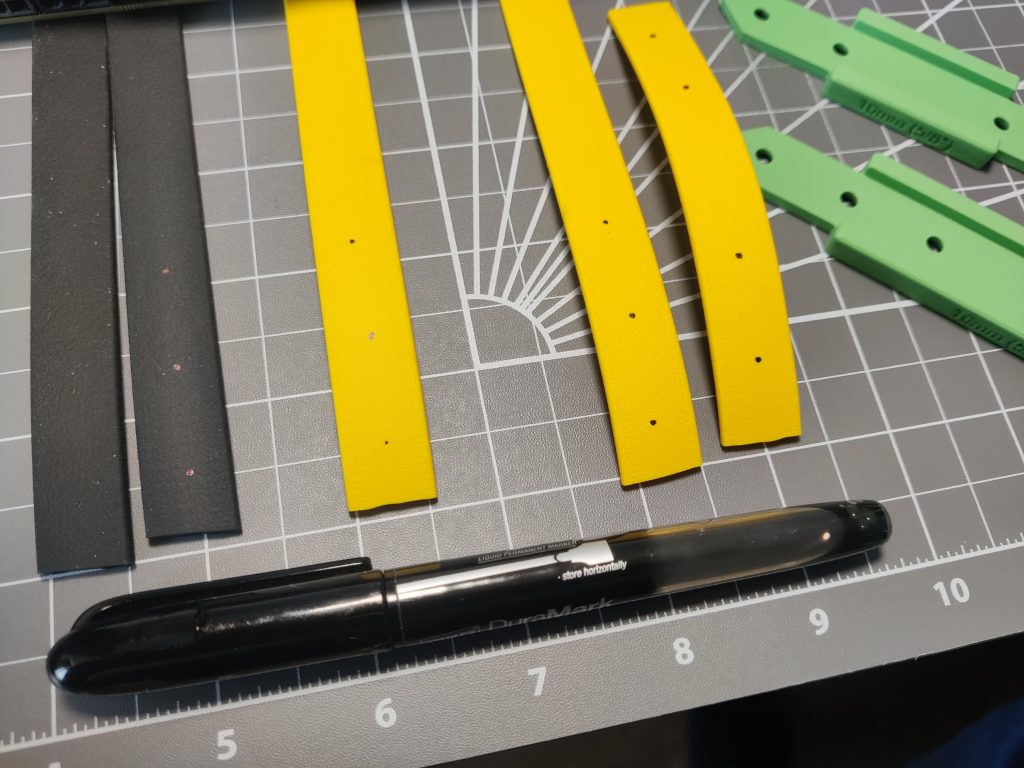
Step 2 - Mark the holes
You will need to make 10 holes in total. First grab your main piece of webbing and mark 3 holes in one of the ends, we space ours out 2 cm apart (~0,8 inches) and make sure they are fairly centered on the webbing. In the other end of the main piece of webbing you mark 2 holes, same space apart.You should now have 3 holes in one end, and 2 in the other, all evenly spaced apart.
Now grab your handle piece (the 50cm piece) and mark 3 holes in each end, same spacing here (2 cm / 0,8 inches) apart. You should now have 3 markings at either end of the handle webbing, all evenly spaced apart.
NOTE: If you spaced your holes in the main webbing piece differently then us, then you need to space these holes out the same. Same thing with these holes, make sure they are centered on the webbing (or that the hole you’re gonna punch “removes” the marking at least).
The last step is to take the smallest piece of webbing and mark 2 holes in each end of it, same spacing as before.
If you get our Leash templates, they have the exact hole spacing as above, for quicker crafting.
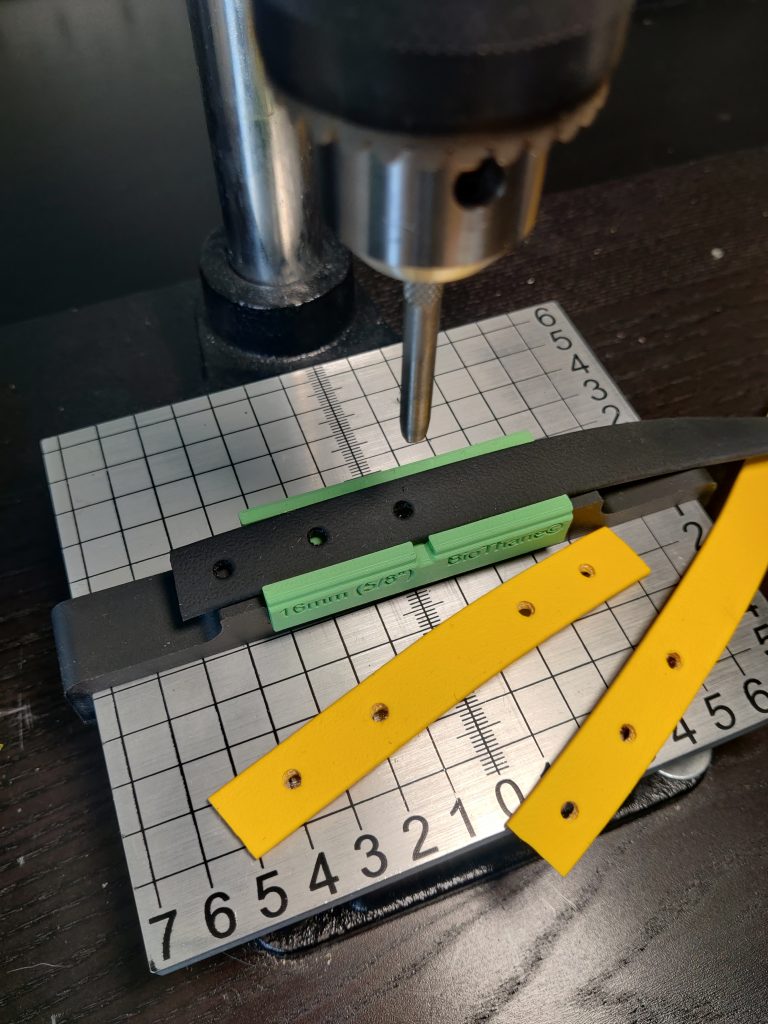
Step 3 - Punch the holes
This step is a little bit dependent on which method of punching holes in the webbing you use, but the end goal is the same, you want to punch holes on all 3 pieces of webbing, where you marked it.
If you’re using the kinds of press machines we recommended in our “Introduction to crafting with BioThane® (or other similar webbing)”-guide, then you can also get centering guides for them, to make sure the webbing is aligned centered under the punch die (your projects will look much better if all the holes line up with each other).

Step 4 - Attach the handle
Take your 3 pieces of webbing and align them like this:
Fold the handle part over itself, so the 3 holes lines up with the 3 holes from the other end of the piece. In between the 3 holes, line up the main webbing (the long one) so the 3 holes from this piece is between the other 6 holes. Now insert your 3 chicago screws and screw them tight, we recommend adding loctite to the threads.
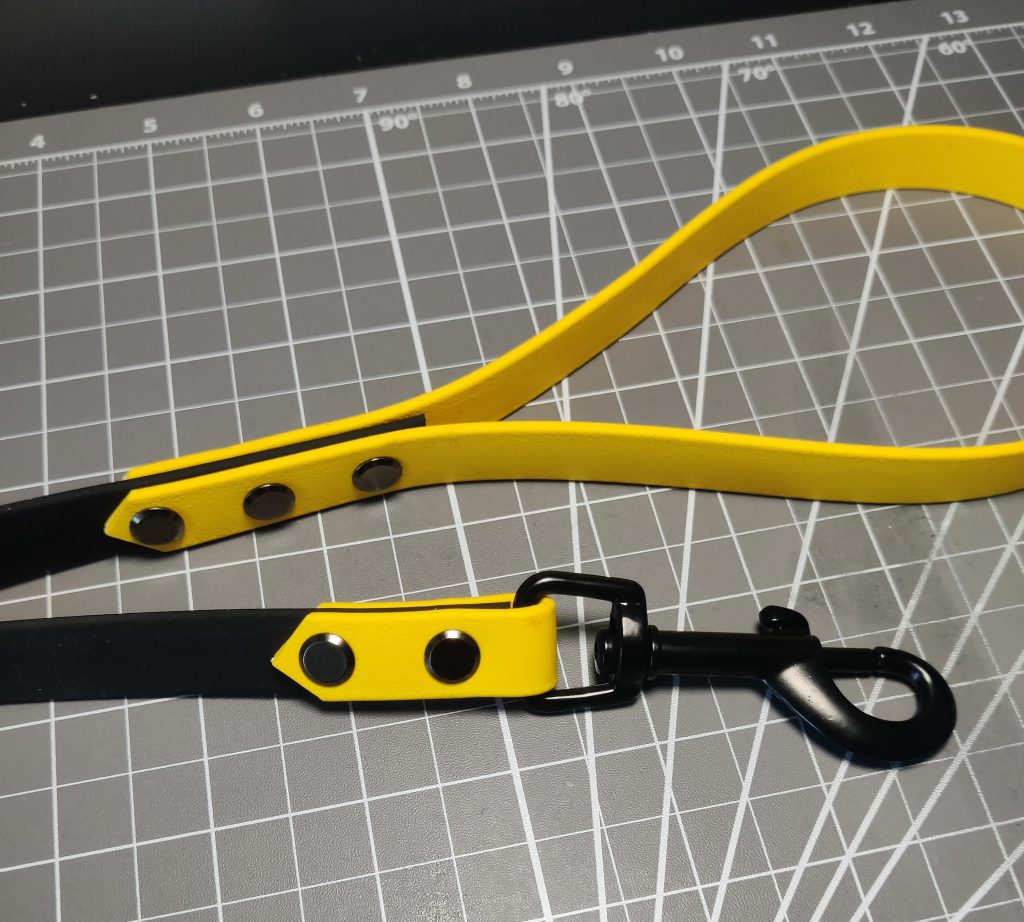
Step 5 - Attach the snap hook part
Now we’re gonna repeat the same procedure with the smallest piece of webbing, the part where you will attach the snap hook. The procedure looks like the last step, but this time you add the snap hook to the loop you create with the webbing.
Finish it up the same way, with 2 chicago screws (and some loctite).
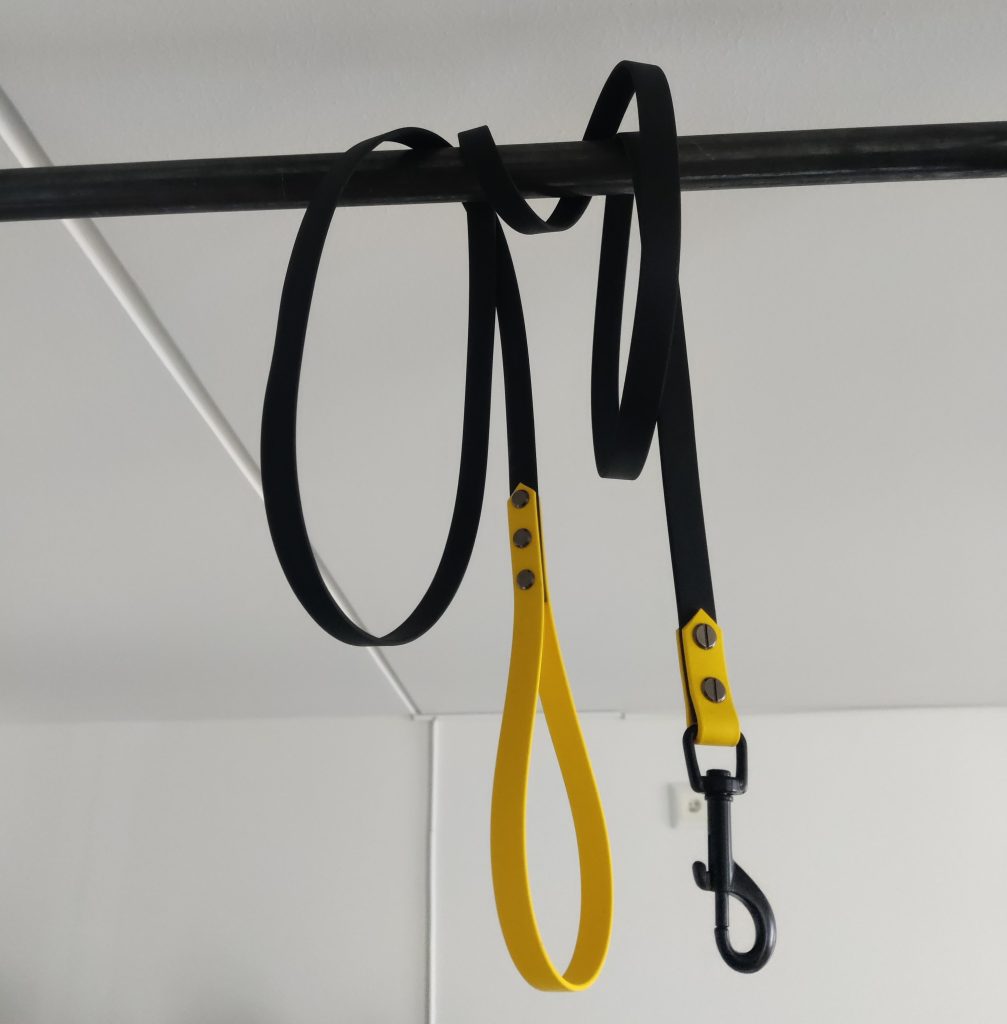
Step 6 - Celebrate your first leash!
If you followed all the steps, you should now have a complete leash in your possession!
But the fun does not end here, now that you’ve grasped the basic method making the leash you can start experimenting with different styles, colors and maybe materials.
Only your imagination is the limit! We hope you found this tutorial helpful.