Craft for pets like an expert with our comprehensive guides
Introduction to crafting with BioThane® (or other similar webbing)
Getting started crafting with BioThane® (or hexa) webbing can feel like a daunting task, but do not fret, we have compiled this getting started guide so you’ll know exactly what kind of tools and material you’ll need to get started with your pet projects!
This site contains product affiliate links. We may receive a commission if you make a purchase when clicking one of the links.
Width and length based on your pet’s size and the type of accessory
Hardware
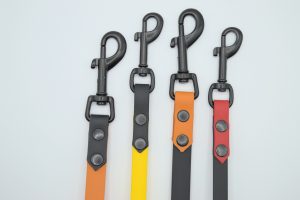
Buckles, D-rings, snap hooks, depending on what you’re making
Ruler or measuring tape
A way of cutting the webbing
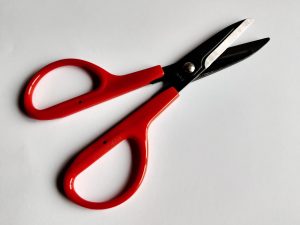
Leather scissors great for starting out
Hole punch
Either hand tool or punch press
Rivets or Chicago screws
Chicago screws highly recommended for beginners
Optional:
Lighter (For sealing cut ends)
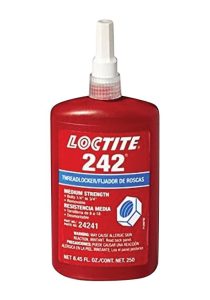
Threadlocker (if using Chicago Screws)
Press or not?
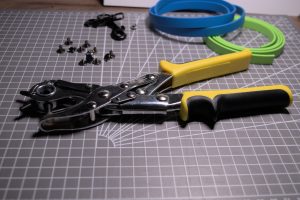
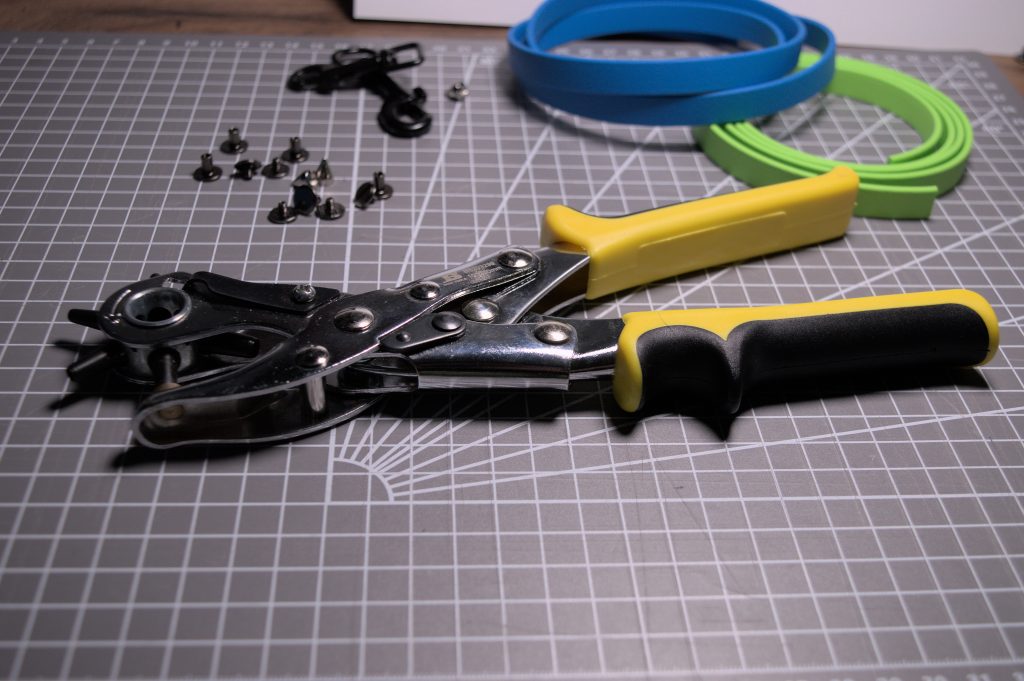
A hole punch tool
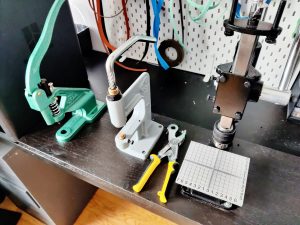
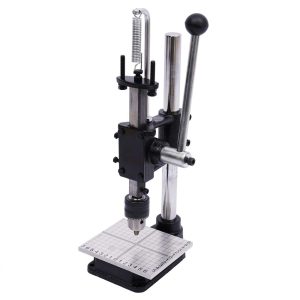
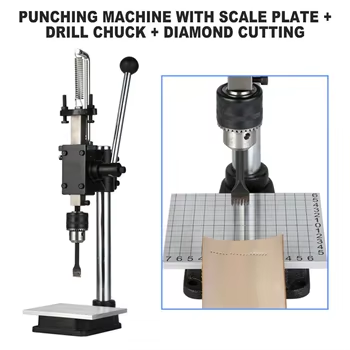
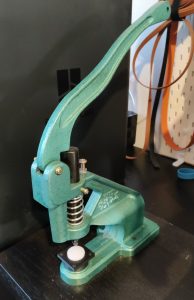
Punch presses, different styles of machines
When making either dog collars or leashes you will need a way to make clean, precise, holes in the webbing, both for attaching hardware and for joining the webbing. Here you basically have two choices, either you get a hand tool called “hole punch pliers” or you invest a little bit more from the get go, and get a punch press machine. Getting a punch press machine will help you make the holes much easier, and also having the ability to set rivets (instead of using chicago screws) with some types of press machines.
While there’s a third way of joining webbing and attaching hardware, sewing, it’s outside the scope of this guide aimed for beginners. Sewing in BioThane webbing is not recommended for someone just starting out.
Hole punch pliers vs. Press punch
Hole punch pliers pros and cons
Pros:
Portability and Ease of Use: Leather hole punch pliers are handheld tools that are easy to store, making them ideal for hobbyists and professionals who require flexibility in their workspace.
Cost-Effective: These pliers are much more affordable than punch press machines, making them accessible to beginners or those on a tighter budget.
Cons:
Manual Effort: They require physical effort, which can be a drawback for projects that involve a large number of punches or very thick materials.
No Rivet Setting: While perfect for small-scale hole punching, the hole punch can only be used for this and nothing else.
Press machine pros and cons
Pros:
Efficiency and Speed: Punch press machines are designed for high-volume production, significantly reducing the time and effort required to punch holes in webbings.
Versatility: The punch press has the ability to mount different dies, both for punching holes but also for setting rivets and even for other special uses like rhinestones.
Consistency: They ensure uniformity in the punches, which is crucial for maintaining quality in production runs.
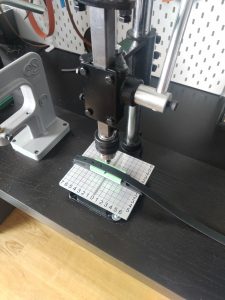
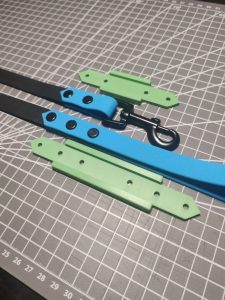
Precise centered holes: If you get one of the recommended press machines, we sell centering guides that fit the machine that ensures that all your holes will be centered on the webbing when punching.
Cons:
Cost and Space: Punch press machines are a bigger investment and require dedicated space, making them less accessible for hobbyists or small-scale operations.
In conclusion, a punch press tool will give you more options to succeed with your BioThane®/Waterproof webbing projects, providing the ability to use rivets and/or even end cutters with some kinds of punch press machines
Recommended tools
Punch press (“Fasttobuy” type press)
Usually comes with punches and all you need for making holes in your webbing. You can mount hole punches, end punches and punches with prongs (for hand stitching).
These come in many different models and names and almost always comes with dies for settings eyelets and no hole punch, but it can be purchased separately (same with dies for setting rivets).
This is a great budget/middle of the road choice when it comes to hole punching. Centering guides can be purchased here on Etsy
Speeds up your hole punching when using the press pictured. Centers the webbing on the plate so you only have to line up the webbing length wise, not top to bottom.
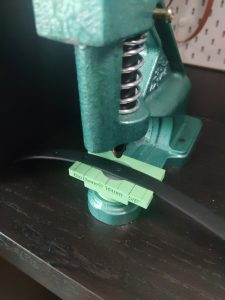
Centering guides for press machine (“Green press”)
Speeds up your hole punching when using the press pictured above. Centers the webbing on the plate so you only have to line up the webbing length wise, not top to bottom.